
Participating Forces
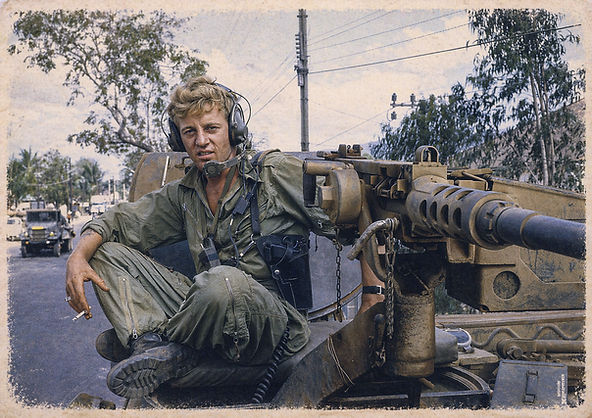
Fire Support Base Coral brought together infantry, artillery, armour, and air support in one of the largest coordinated Australian operations of the Vietnam War, facing regimental-scale assaults by North Vietnamese forces.

Australian Forces

1st Australian Task

Infantry Units
1st Battalion, Royal Australian Regiment
-
Elements deployed at Coral
-
Provided perimeter defence
-
Engaged in close-quarters fighting during initial assault


3rd Battalion, Royal Australian Regiment
-
Elements deployed at Coral
-
Provided perimeter defence
-
Engaged in close-quarters fighting during initial assault

Artillery Units
12th Field Regiment, Royal Australian Artillery
-
Guns deployed at Coral
-
102 Battery, 12 Field Regiment


Artillery Units
161st Battery, Royal New Zealand Artillery
-
Attached New Zealand artillery battery
-
Provided fire support alongside Australian guns

Armoured Units
1st Armoured Regiment
-
Centurion tanks
-
Not fully in place during initial attack
-
Later critical in strengthening defence

Aviation Support
9 Squadron RAAF
-
Helicopter support (troop movement, resupply, medevac)


Command & Support Elements
-
1 ATF Headquarters elements
-
Signals units (communications)
-
Medical teams
-
Logistics and supply personnel

🇳🇿 NEW ZEALAND FORCES
161st Battery, Royal New Zealand Artillery
-
Integrated within Australian artillery structure
-
Provided continuous fire support
🇺🇸 UNITED STATES SUPPORT
While Coral was primarily an Australian/New Zealand action, US support was critical:
US Artillery & Fire Support
-
Long-range artillery support from nearby US bases
US Air Support
-
Tactical air strikes
-
Close air support missions
US Helicopter Support
-
Additional lift and logistical support